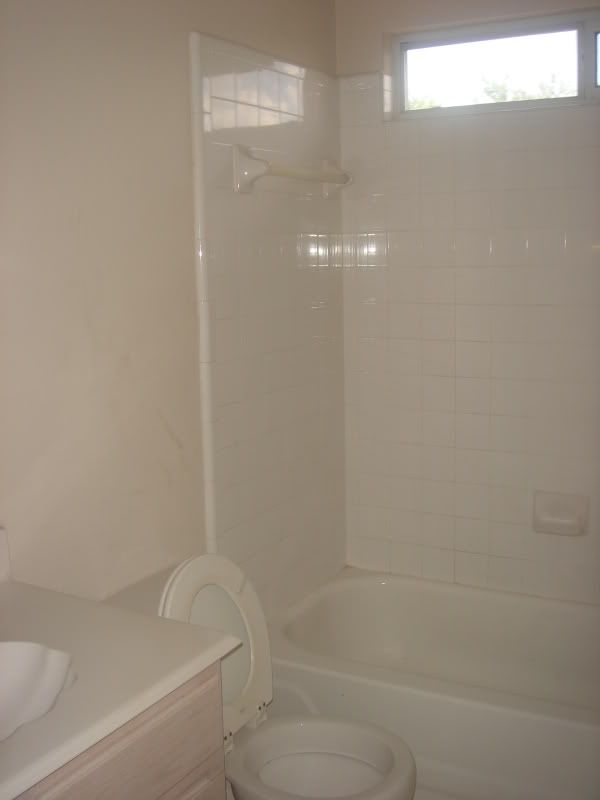
Click on the photos to make them larger.
 After:
 For the stripes we mixed the darker color with a slightly shinier white so that it would just be a lighter shade. Then when they dried, we used a Candlelight topcoat. These photos were taken at the same time, but in different lighting. The shimmer only appears at certain angles/lighting.

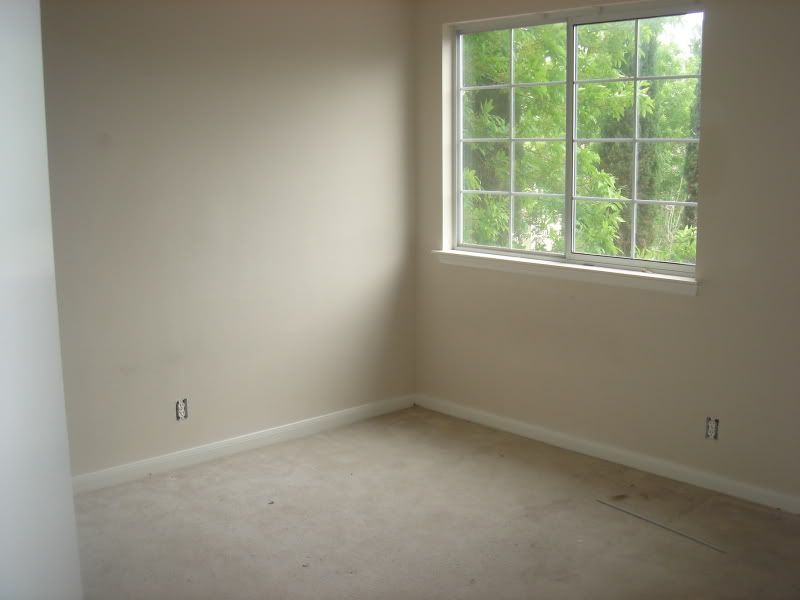
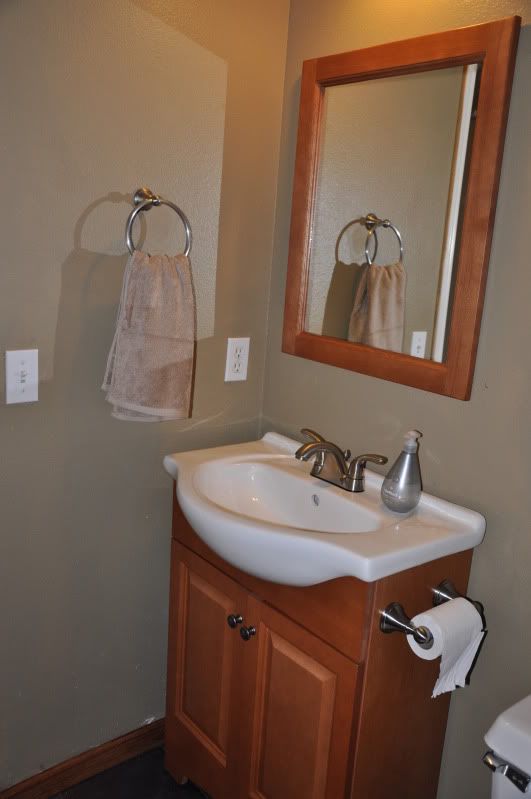
 Aside from putting up curtains, this room is totally done.
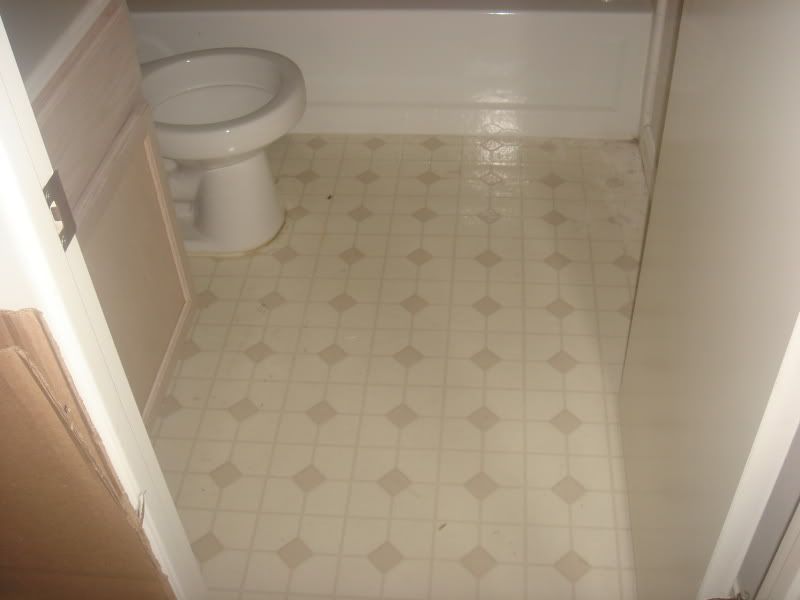

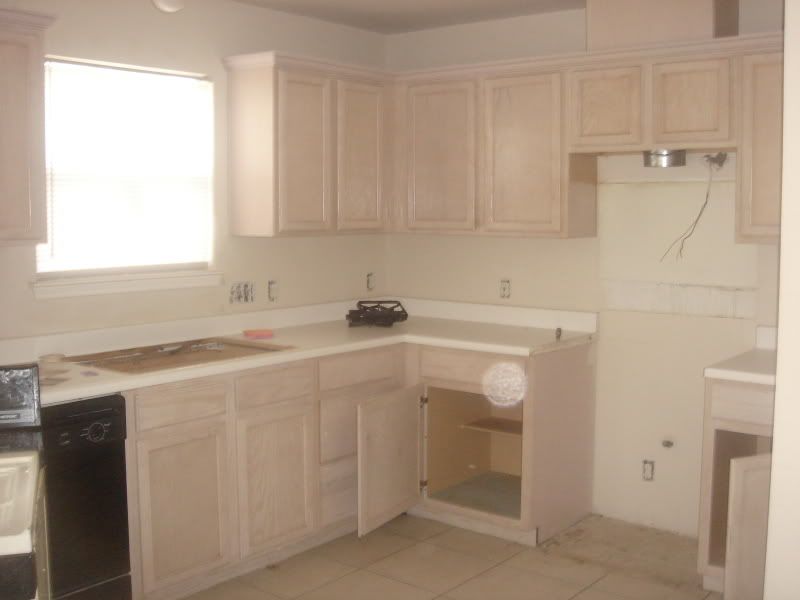
 The magic of paint. Since this photo we have put those missing cabinet doors on and have gotten light switch covers. We still need to put on knobs and a do a few other things.